Intergrated
Project

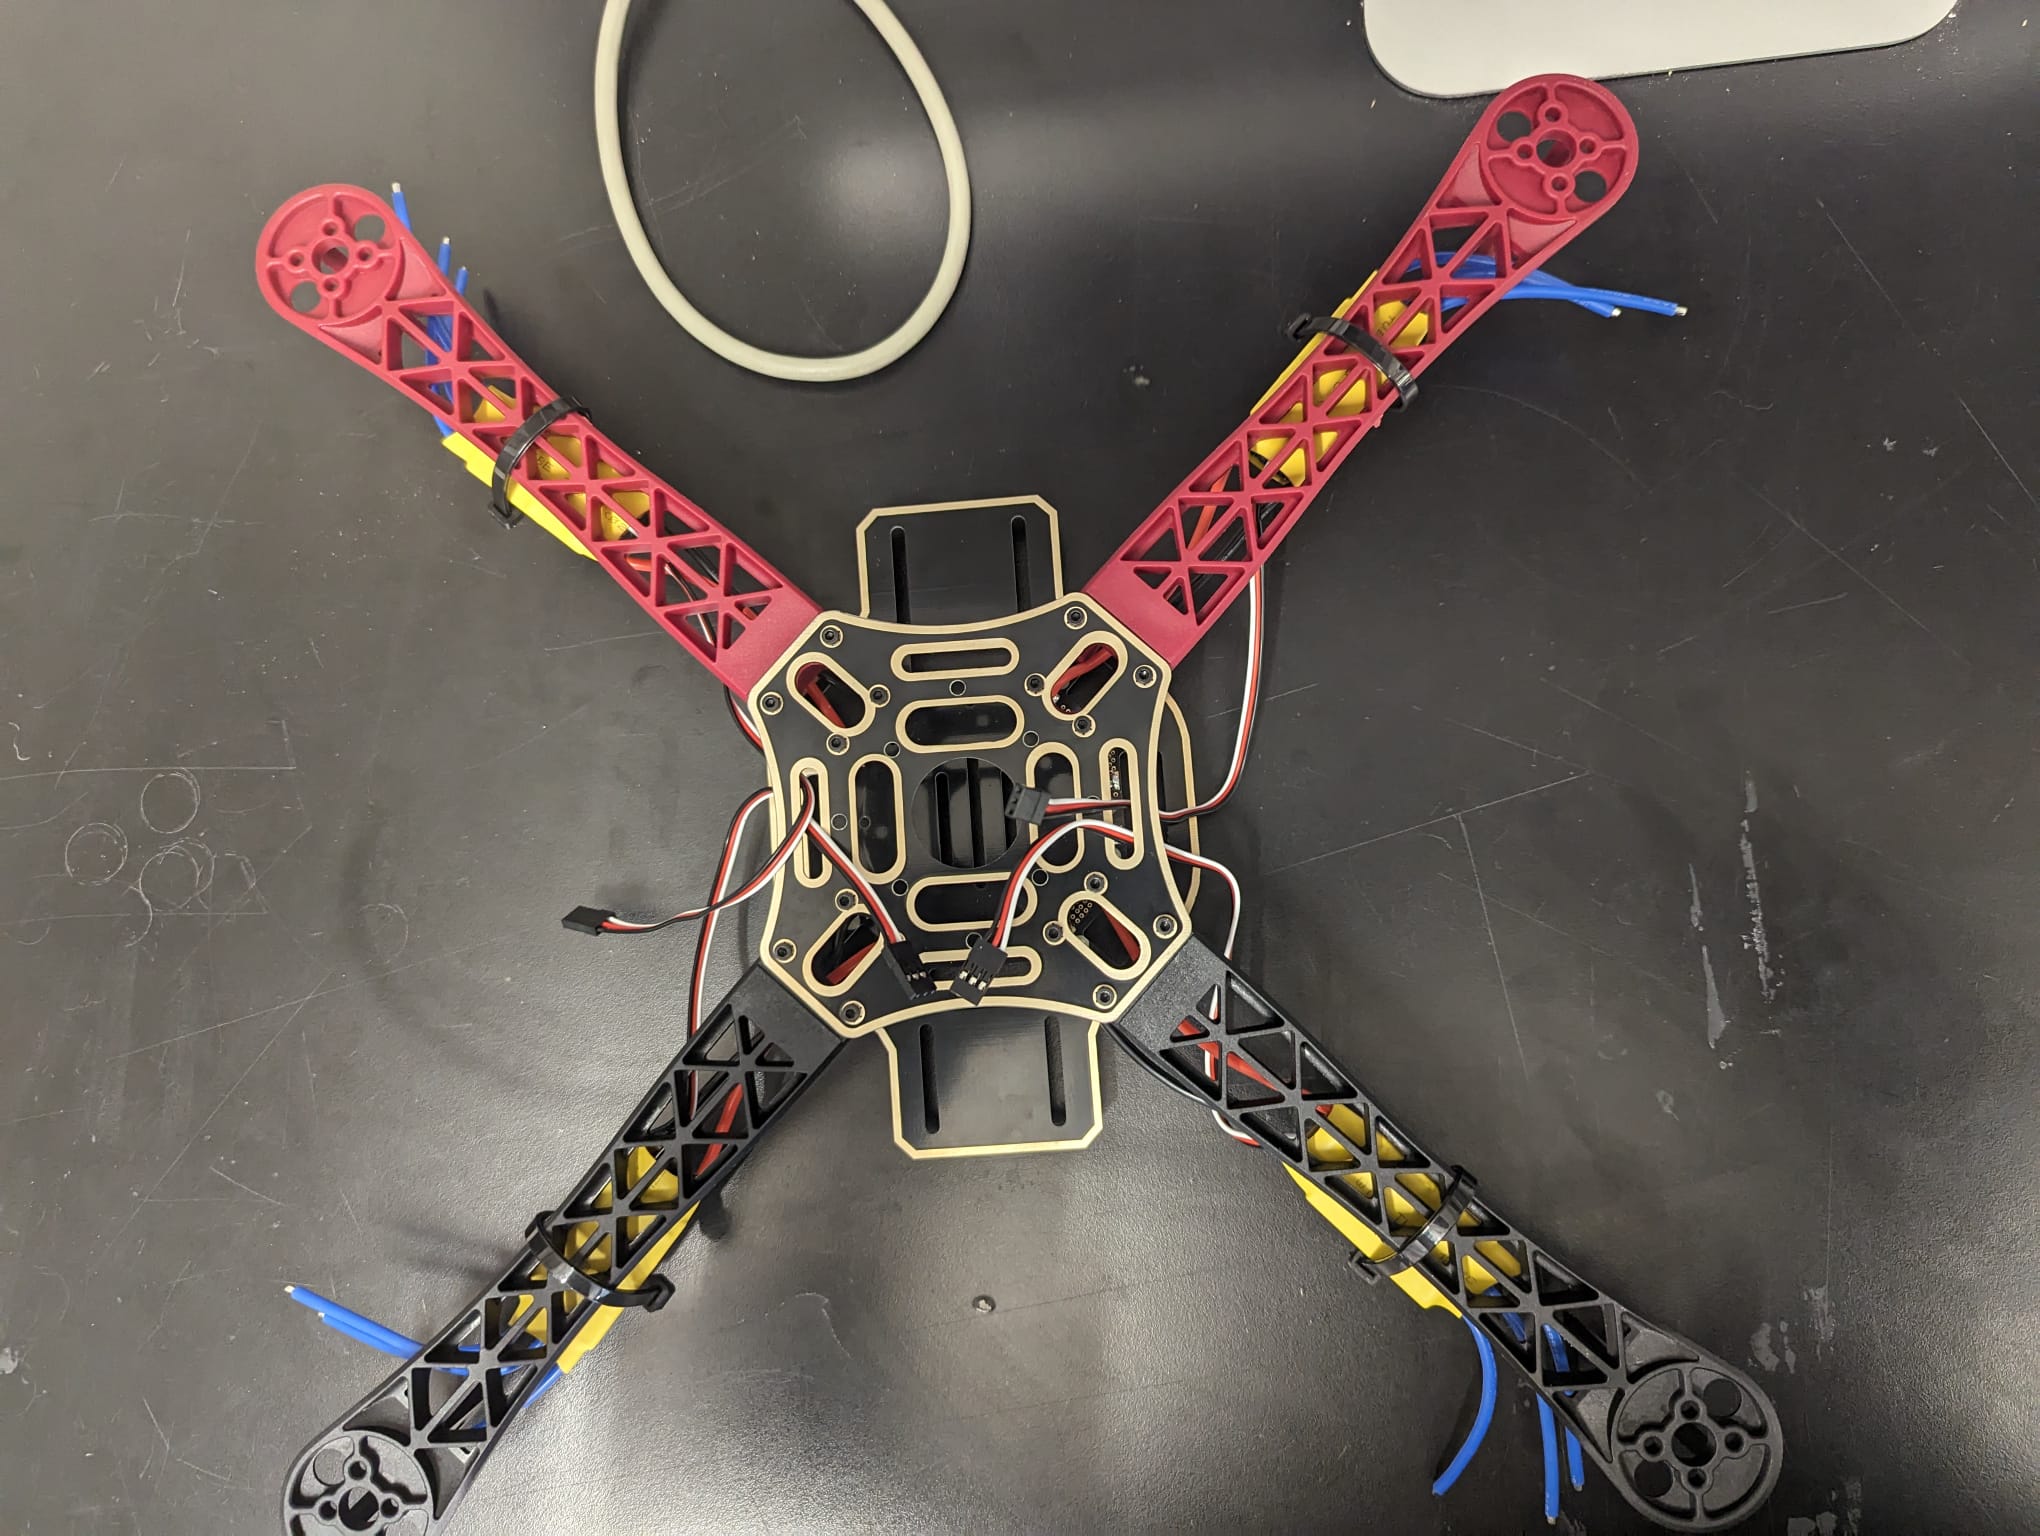
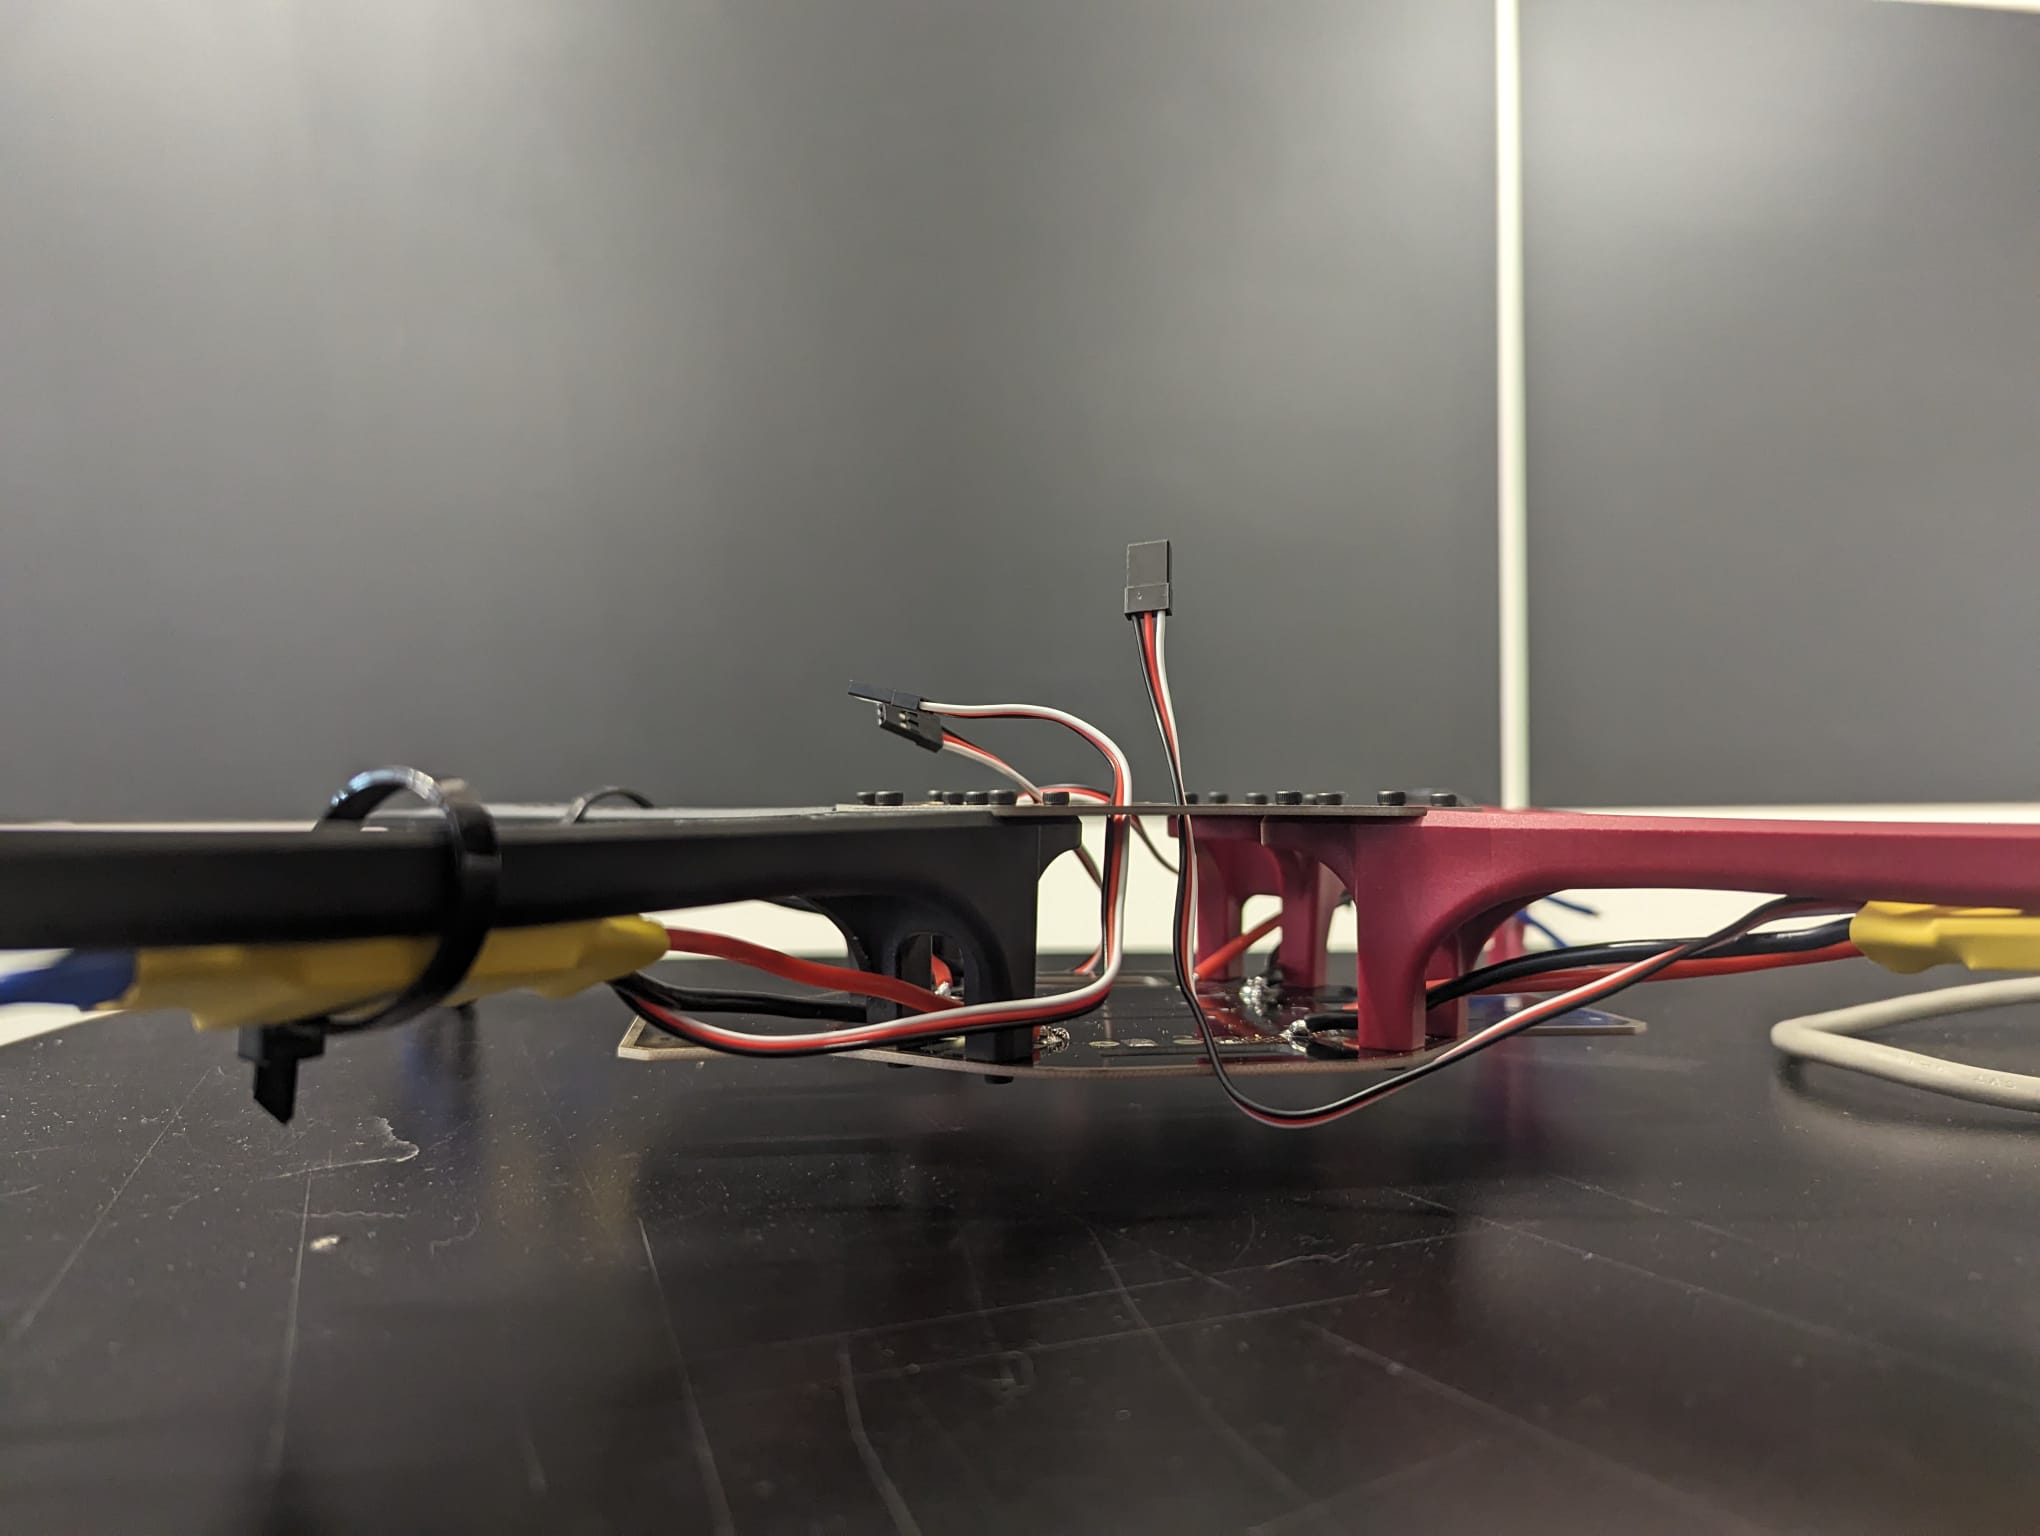
Introducing our self-leveling drone, a remarkable integration of cutting-edge technology and meticulous craftsmanship. Powered by a versatile array of sources, from wall plugs to LiPo batteries and USB power banks, it ensures uninterrupted operation in diverse environments. Precision-engineered wiring, featuring heat shrink insulation, ribbon cables, and secure screw terminals, guarantees reliable connectivity and optimal performance. The heart of this drone lies in its meticulously designed PCB, boasting either single or double-sided configurations and modular stacking headers for seamless integration of electronic components. Its robust mechanical construction, incorporating heat-set inserts and captive nuts, ensures structural integrity and durability, even under demanding flight conditions. With meticulous attention to detail in every aspect of its design and assembly, our self-leveling drone sets the standard for innovation and excellence in aerial technology.
3 Receiver and gyro check
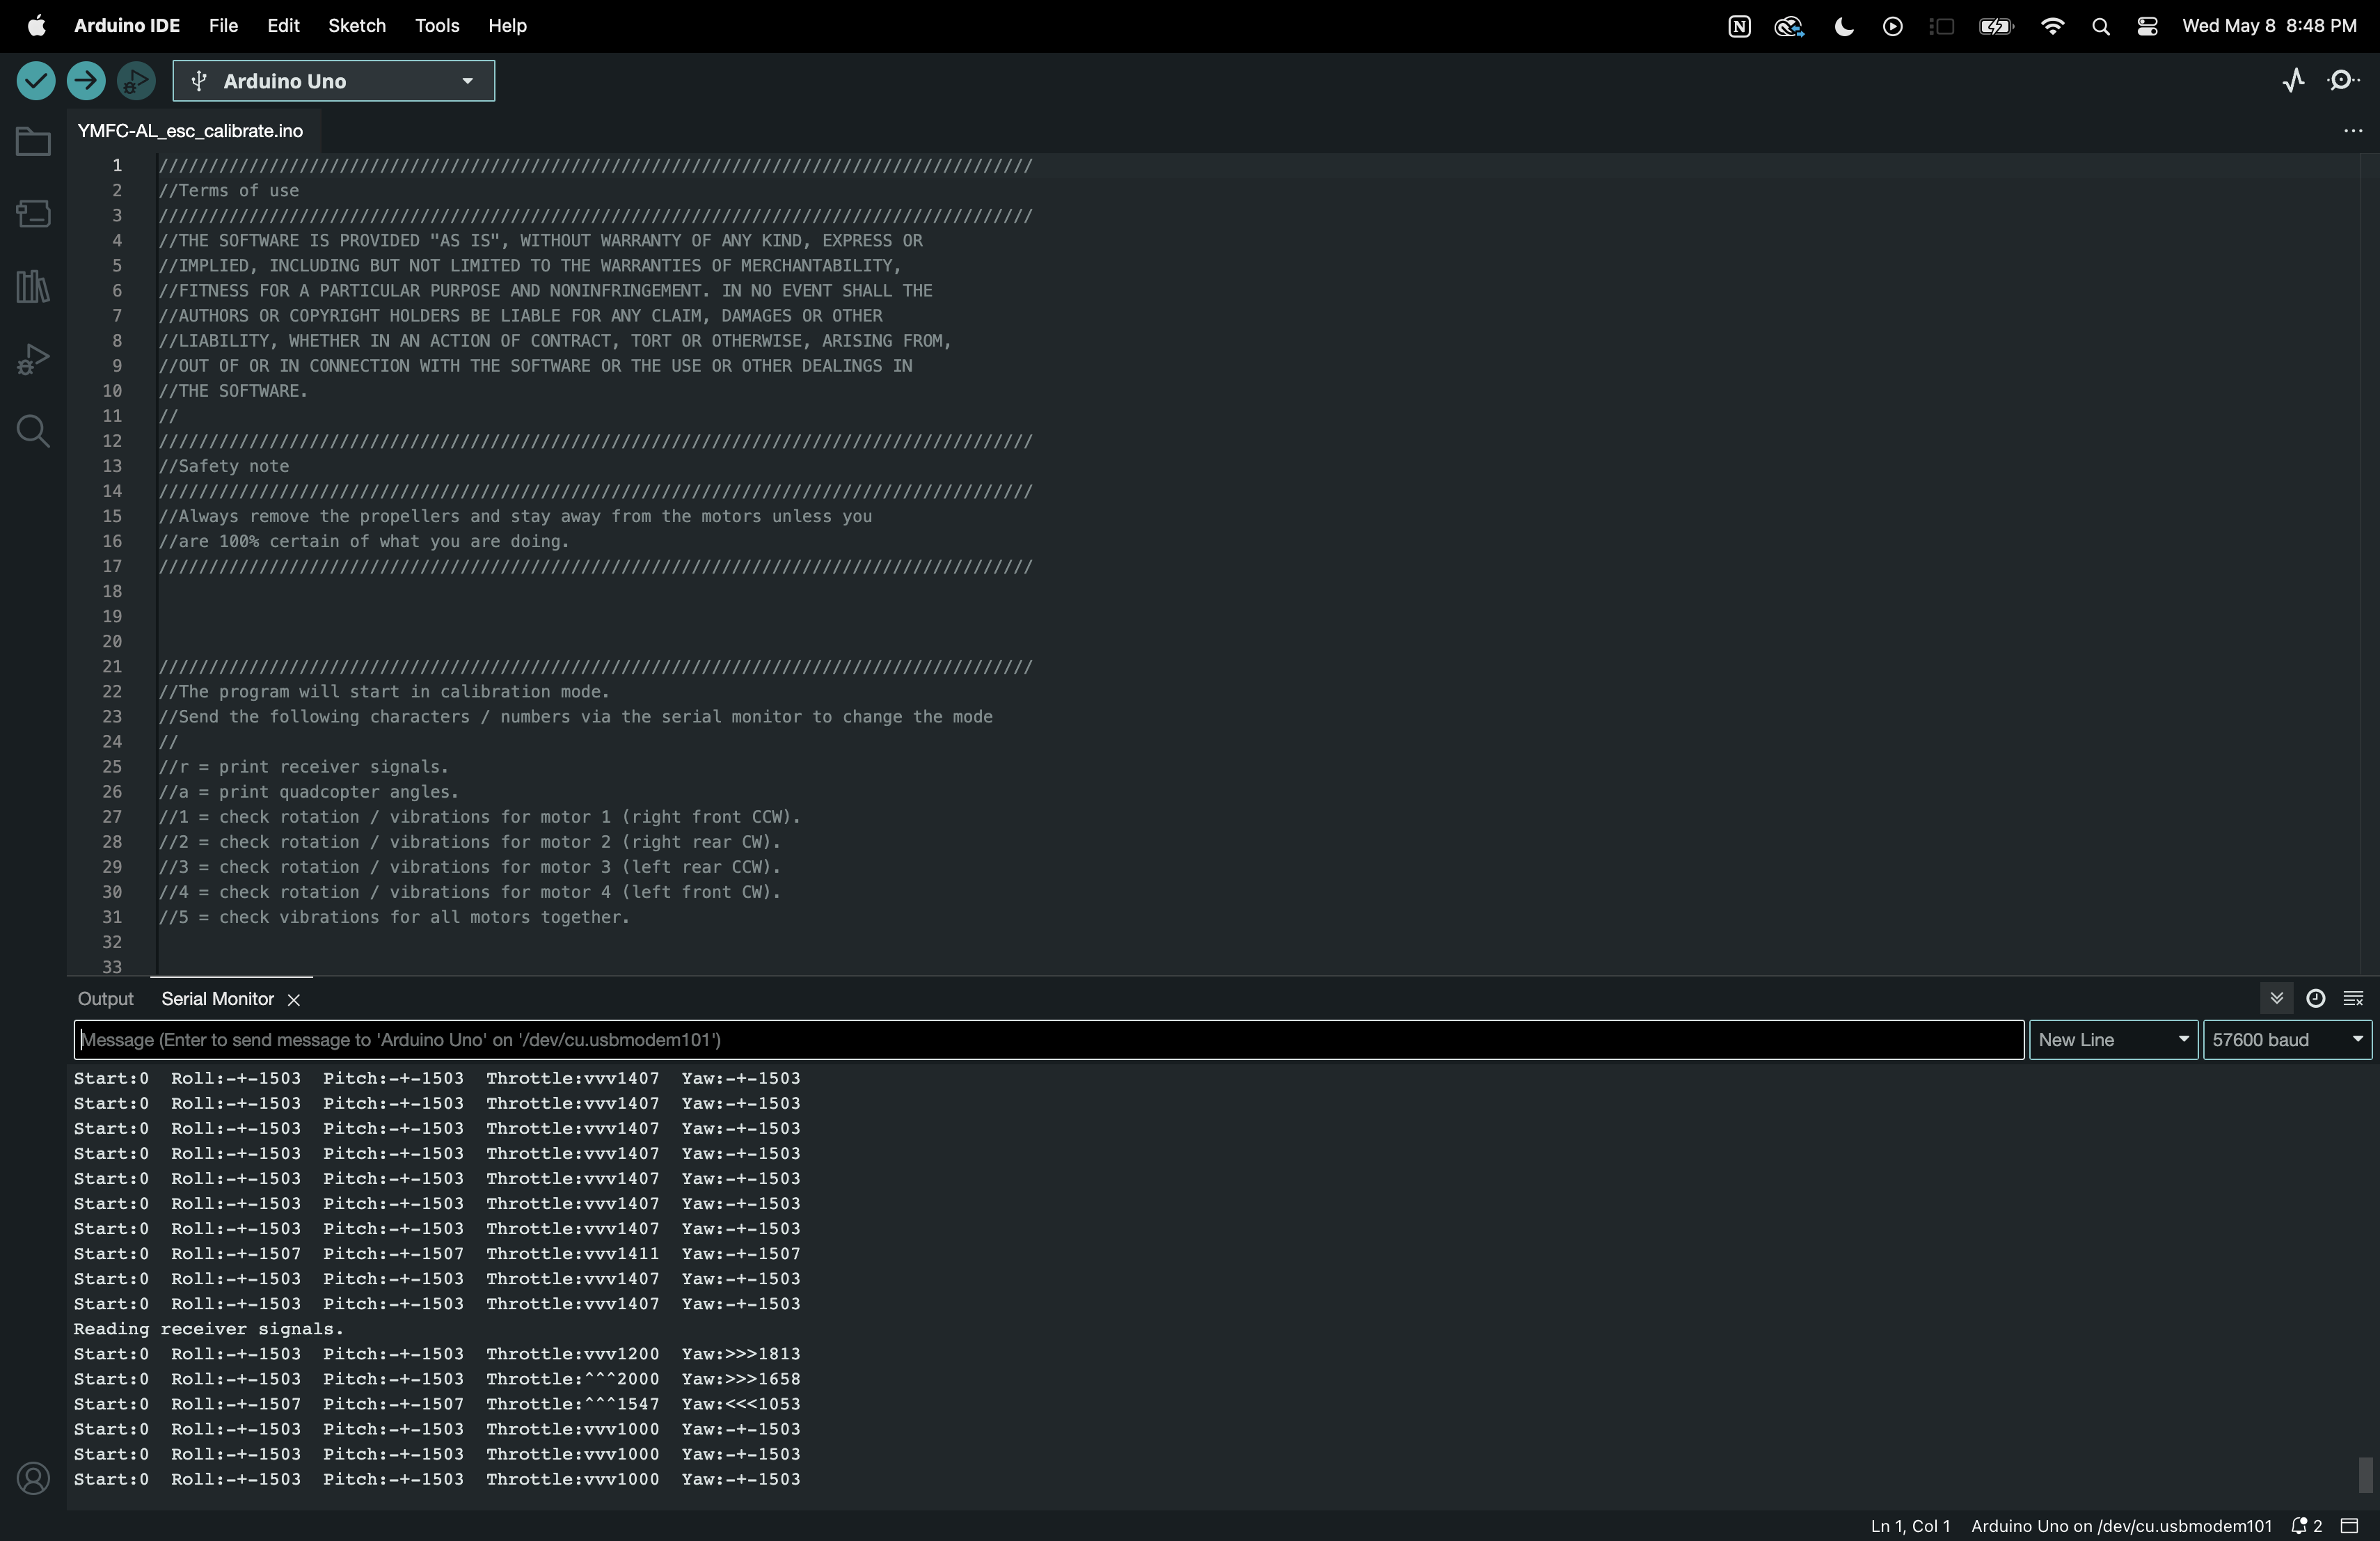
To make sure that everything is working correct it's necessary to run some basic checks. Remove the props, disconnect the flight battery and upload the ESC calibration program to the Arduino. Open the serial monitor at 57600baud.
3.1 Receiver input check
Send the letter 'r' to start the receiver monitor. Now move the sticks and see if the values on the screen correspond with the movements of the sticks.
All the channels should read 1000us till 2000us with a center position of 1500 (+/-8).
3.2 Gyro / accelerometer angle check
After the receiver check is completed send the letter 'a' to start the angle check
Don't move the quadcopter because the gyro needs to calibrate itself. After the calibration the roll and pitch angles are shown. The yaw value is the output of the gyro and will go back to zero if the yaw rotation stops.
Check if the angles correspond with the movement of the quadcopter:
- Nose up is positive pitch and nose down is negative pitch.
- Left wing up is positive roll and left wing down is negative roll
- Nose right is positive yaw and nose left is negative yaw.

4 Calibrate the ESC's
Electronic speed controllers or ESC's for short are controlled with a 1000us till 2000us pulse. 1000us means off and 2000us means full throttle. To make sure that all the ESC's react the same way it's important to calibrate the 1000us and 2000us point. Without calibration the motors will perform different and the quadcopter doesnt fly well or might even crash.
Remove the props and upload the ESC calibration program to the Arduino. Disconnect the USB cable and follow the instructions in the manual to calibrate the ESC's.
In most cases this is done with the following steps: Place the throttle stick in the upper position (full throttle) Connect the flight battery After some beeps place the throttle stick in the lowest position Disconnect the flight battery