IOT
Internet Of Things
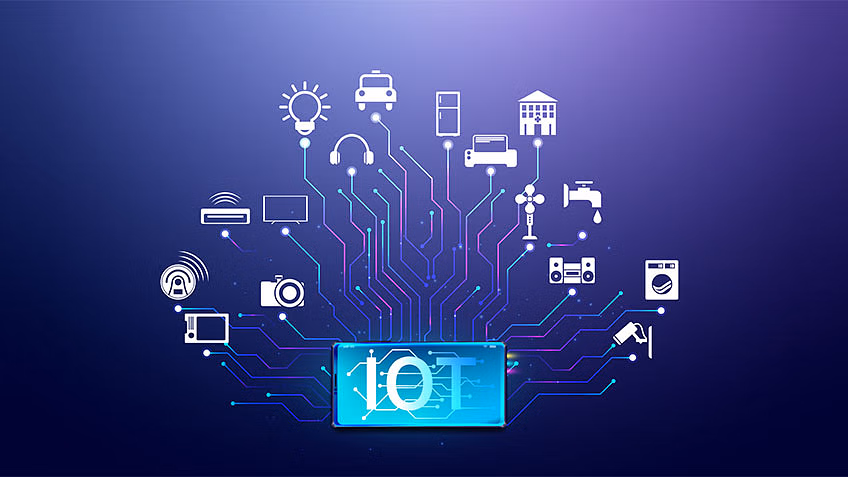
The Internet of Things (IoT) refers to the network of physical objects embedded with sensors, software, and other technologies that enable them to connect and exchange data with other devices and systems over the internet. This interconnectedness allows for automation, remote monitoring, and data-driven decision-making across various sectors such as healthcare, transportation, agriculture, and manufacturing. Essentially, IoT enables objects to collect and share information, leading to increased efficiency, productivity, and convenience in everyday life and business operations.
Decoding Morce Code
Creating a project to decode Morse code using an ESP32 microcontroller and integrating it with Firebase for storing the decoded output is an interesting idea. Here's a step-by-step guide along with the necessary components:
Morce Code
Morse code is a method used in telecommunication to encode text characters as sequences of two different signal durations, called dots and dashes or dits and dahs. It's named after Samuel Morse, one of the inventors of the telegraph.
How It Works:
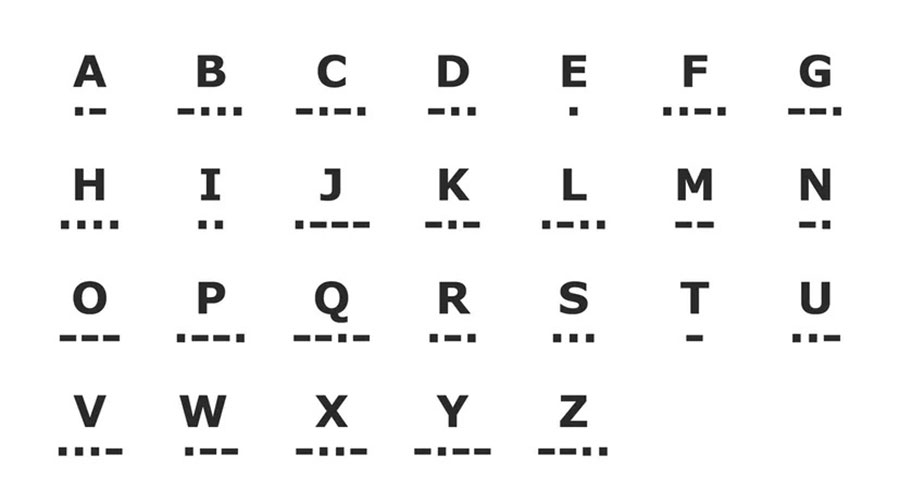
Basic Elements: Morse code consists of two basic elements: dots (.) and dashes (-), which are also referred to as dits and dahs respectively. These elements represent the basic unit of time duration in Morse code.
Character Encoding: Each letter, numeral, or punctuation mark is represented by a unique sequence of dots and dashes. For example, the letter "A" is represented by ".-", the letter "B" by "-...", and so on.
Spacing: Morse code also uses spacing to separate letters within a word, and words within a sentence. The space between dots and dashes within a character is called an inter-element gap, while the space between characters within a word is called an inter-character gap, and the space between words is called an inter-word gap.
International Morse Code: While there are variations in Morse code depending on the language and specific applications, International Morse Code is the most widely used. It is standardized by the ITU-R (International Telecommunication Union - Radiocommunication Sector) and used in aviation, maritime communication, amateur radio, and other fields.
Applications:
Telecommunication: Morse code was historically used in telegraphy, where electrical signals were sent over wires to transmit messages over long distances. It's still used in certain forms of radio communication today, particularly in amateur radio operations.
Aviation and Maritime Communication: Morse code has been traditionally used in aviation and maritime communication due to its simplicity and reliability, especially in situations where other forms of communication might be unreliable.
Emergency Signaling: Morse code's simplicity and ability to transmit over long distances make it suitable for emergency signaling. For example, distress signals like SOS (··· --- ···) are easily recognizable in Morse code.
Educational Purposes: Morse code is sometimes taught in educational settings as a way to understand basic principles of encoding and decoding information. It can also be a fun and engaging way to learn about history and communication technology.
Encryption and Secrecy: In certain contexts, Morse code has been used as a method of encryption or secrecy, where messages are transmitted in Morse code to prevent interception by unauthorized parties.
Overall, Morse code has a rich history and continues to be relevant in various applications, from traditional telecommunication to niche hobbies like amateur radio operation. Its simplicity and effectiveness make it a timeless method of encoding and transmitting information.
Hardware Components:
- ESP32 Development Board (such as ESP32 DevKitC)
- A buzzer or LED for sound/light indication of Morse code output
- Push Button or any input mechanism for entering Morse code
- Breadboard and jumper wires
Software and Services:
- Arduino IDE with ESP32 board support
- Firebase account for database storage
- Firebase Realtime Database for storing decoded Morse code
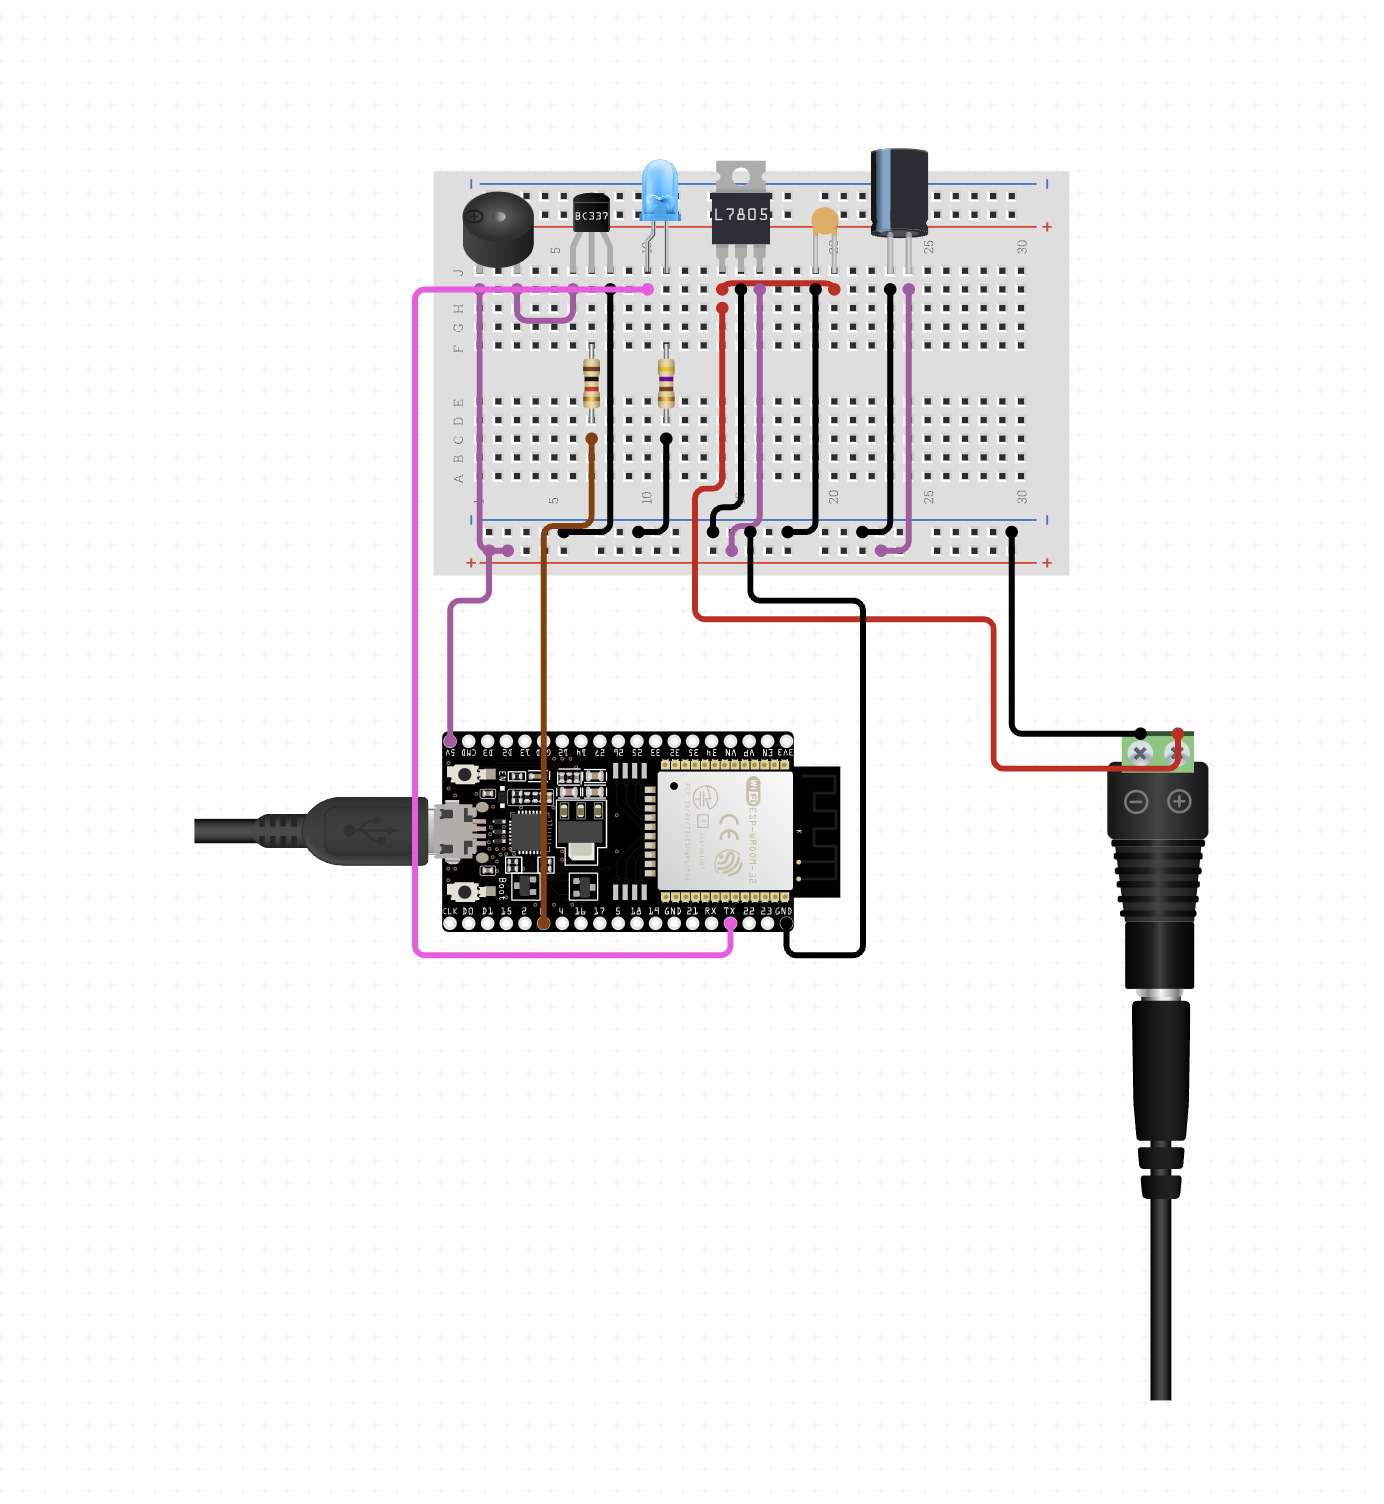
Once you have everything ready, start wiring your circuit. Connect the buzzer or LED to a GPIO pin of the ESP32 for output indication and the push button to another GPIO pin for input. Wire the components on a breadboard according to your circuit design.
Next, write the Arduino code. Develop code to read Morse code input from the push button, decode it, and integrate Firebase Realtime Database using the Firebase ESP32 library. Configure the code to push the decoded Morse code to Firebase for storage.
Test your setup by uploading the code to the ESP32 board and inputting Morse code through the push button. Verify if the decoded output is being pushed to Firebase correctly. Debug any issues that arise during testing.
Configure Firebase security rules to ensure database security, and make sure the rules allow the necessary read and write access.
To access the decoded output stored in Firebase, you can use any Firebase SDK or API. For example, utilize the Firebase Admin SDK in your preferred programming language to retrieve data from the database.
Finally, deploy your project in a suitable enclosure if needed, ensuring proper error handling in your Arduino code, especially when dealing with Firebase operations, and following security best practices for sensitive data like Firebase credentials. Enhance the project with features like error correction, speed adjustment for Morse code decoding, or voice synthesis for reading out the decoded text.
If you want to directly connect the components without using a breadboard, you can solder wires to the components and then connect them to the ESP32. Here's how you can connect the buzzer and push button to the ESP32 without using a breadboard:
Buzzer: Solder a wire to the positive (anode) terminal of the buzzer. Connect this wire to a digital output pin on the ESP32 (e.g., GPIO pin 12). Solder another wire to the negative (cathode) terminal of the buzzer. Connect this wire to a ground (GND) pin on the ESP32.
Push Button: Solder one wire to one terminal of the push button. Connect this wire to a digital input pin on the ESP32 (e.g., GPIO pin 13). Solder another wire to the other terminal of the push button. Connect this wire to a pull-down resistor (10kΩ). Solder another wire to the other end of the pull-down resistor. Connect this wire to the 3.3V pin on the ESP32.
The provided code is designed to run on an ESP32 microcontroller and serves the purpose of decoding Morse code input from a push button. It then saves the decoded characters to a Firebase Realtime Database. Let's delve into each section of the code in detail.
The initial section includes the necessary libraries for the ESP32 and Firebase integration, along with constants defining Firebase credentials, WiFi credentials, and pin assignments for the push button and buzzer. It also sets thresholds for durations such as dot, dash, signal gap, character gap, and word gap.
In the setup() function, the serial communication is initiated for debugging, and pins are configured for the push button (as input with a pull-up resistor) and the buzzer (as output). Subsequently, the ESP32 connects to the WiFi network using the provided credentials. Finally, Firebase is initialized with the provided host and authentication credentials.
Moving on to the loop() function, it continuously calls two main functions: detectButtonPress() and decodeMorse(). These functions handle the process of detecting button presses and decoding Morse code input, respectively.
The detectButtonPress() function monitors the state of the push button and records Morse code input accordingly. It distinguishes between dots (short presses) and dashes (long presses) based on the duration of each press. Additionally, it inserts spaces between letters if the gap between presses exceeds the CHARACTER_GAP threshold and between words if it exceeds the WORD_GAP threshold.
The decodeMorse() function deciphers the Morse code input into characters using the decodeCharacter() function. It then prints the decoded character to the serial monitor for debugging purposes and saves it to Firebase using the saveToFirebase() function.
The decodeCharacter() function maps Morse code sequences to corresponding characters and returns the decoded character based on the Morse code input. If a sequence doesn't match any known Morse code, it returns a null character ('\0').
The saveToFirebase() function pushes the decoded character to the Firebase Realtime Database under the "/decoded_morse_code" path.
Lastly, the connectToWiFi() function attempts to establish a connection to the specified WiFi network. It continuously checks the connection status and remains in a loop until a successful connection is established.
In conclusion, this code enables the ESP32 to decode Morse code input from a push button, handle spaces between letters and words, and subsequently save the decoded characters to a Firebase Realtime Database. Adjustments to the duration thresholds and Morse code to character mappings can be made to tailor the code to specific requirements.